

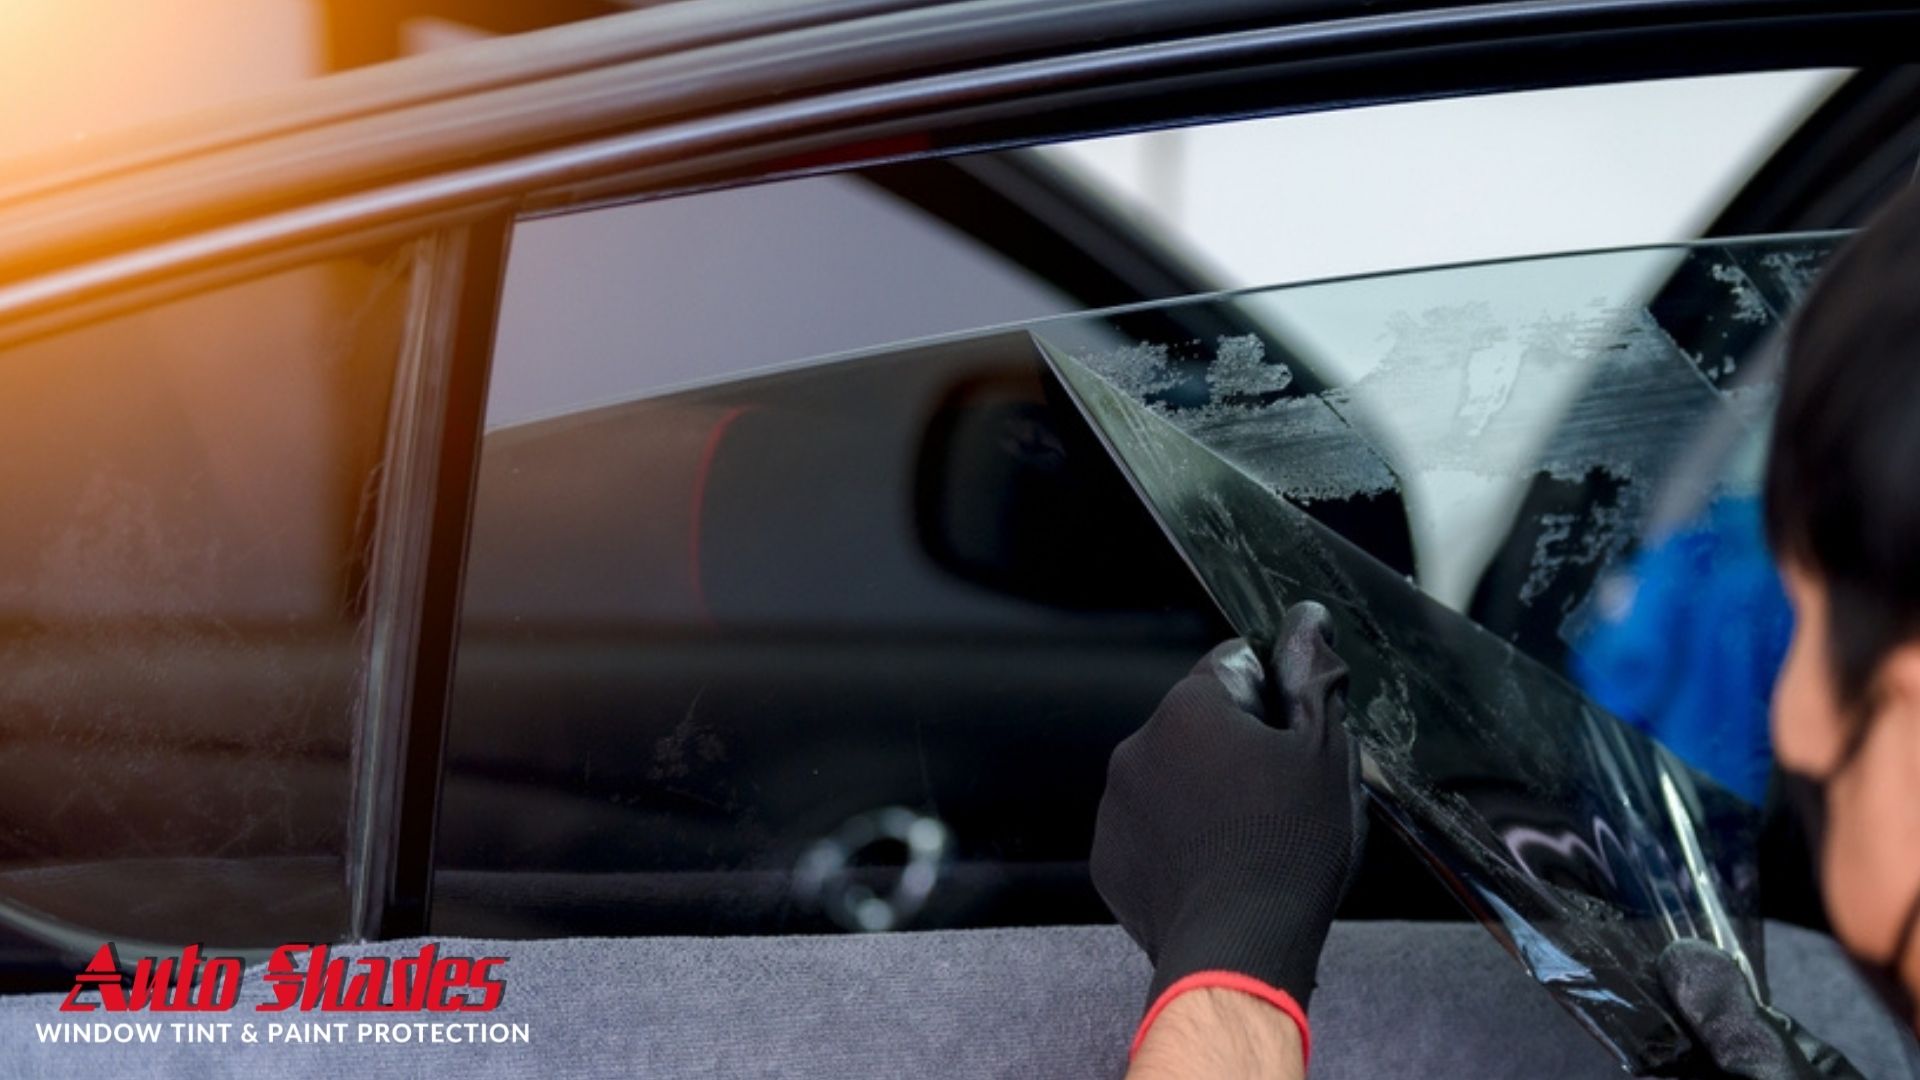
Tint removal looks like a job anyone can do. Grab a corner, pull, and scrape off whatever stays behind. Then the film shreds into confetti, the adhesive turns into something with the consistency of chewed gum, and three hours later you are staring at a rear window with two broken defroster lines. At Auto Shades Idaho, that job walks through our door regularly, and the repair costs more than the removal would have.
Here is what is actually happening when film comes off glass, where the real risks are, and how to make a clear-eyed decision about doing it yourself.
Why Old Tint Fights Back
Fresh film peels reasonably well. Film that has spent eight Idaho summers on a south-facing window does not, and the reason is chemistry.
The adhesive that bonds film to glass is designed to be clear, thin, and stable. Ultraviolet exposure and repeated heat cycling break it down, and as it degrades, it stops behaving like one continuous layer. Parts of it stay gripped to the glass while the polyester film above delaminates and tears. That is why brittle film comes off in postage-stamp pieces instead of one sheet: you are no longer pulling film with adhesive attached; you are pulling film away from adhesive that has decided to stay.
Two conditions make removal significantly harder:
- Advanced UV degradation. The film has lost flexibility and cannot take tension.
- Low-grade original adhesive. Cheap film often uses aggressive pressure-sensitive adhesive that bonds hard and releases poorly.
The Three Things That Actually Get Damaged
Rear defroster grid lines
This is the expensive one. Those thin copper-colored lines are printed onto the interior surface of the glass, and they are fragile. A razor blade run across them will lift them. So will pulling film off dry at a sharp angle, because the adhesive can grab a line and take it with the film. Once a line breaks, you get a stripe of rear glass that never clears in winter. Repair conductive paint exists, works inconsistently, and looks like what it is.
Interior surfaces
The two most popular DIY methods both cause collateral damage. Ammonia-based removal releases fumes that are genuinely unpleasant in an enclosed car and can discolor plastics and stain upholstery. Heat guns held too long in one spot warp door cards, deform dash plastics, and can distort trim in ways that do not spring back.
The glass itself
Tempered side glass tolerates a blade better than most people expect, but scratches from a dull or dirty blade are permanent. Rear windshields are the higher risk, both because of the grid and because a stress point plus rapid uneven heating is a real, if uncommon, path to a cracked window.
How the DIY Methods Compare
| Method | How it works | Main risk | Realistic verdict |
|---|---|---|---|
| Steam | Fabric steamer softens adhesive with moist heat | Slow, needs constant refilling, moisture in door panels | Safest DIY option, and closest to the professional method |
| Heat gun or hair dryer | Dry heat loosens the bond | Warped trim, scorched plastic, uneven softening | Workable on side glass with care, poor choice near trim |
| Ammonia and sun | Ammonia under black plastic breaks down adhesive | Fumes, interior staining, needs hot weather | Effective but unpleasant, and off the table October through spring here |
| Soapy water and scraping | Mechanical removal of residue | Scratched glass, broken defroster lines | Acceptable on side glass only, never on rear glass |
Notice the seasonal problem. The two methods that rely on ambient heat stop working in a Caldwell October, which is exactly when most people decide their tint has to go.
What Professional Removal Looks Like
The difference is not a secret tool. It is controlled heat, the right solvents for the specific adhesive, and enough repetitions to know how a given film will behave before it starts tearing.
- Assess the film. Type, age, and brittleness determine the approach. Metallized film behaves differently from dyed film.
- Mask the interior. Door panels, seats, and electronics get covered before anything wet or hot happens.
- Apply even heat or steam. The goal is softening the adhesive across the whole panel, not one hot spot.
- Release in sheets. Pulled at a low, consistent angle so the adhesive comes with the film instead of separating from it.
- Dissolve remaining residue. Solvent chosen for the adhesive, applied with plastic tools around defroster lines rather than steel.
- Final clean and inspection. Glass is checked in raking light, because residue that is invisible head-on shows up badly under new film.
That last step is the one DIY jobs almost always skip. New film applied over leftover adhesive telegraphs every ridge and speck, and the result looks worse than the tint you removed.
When to Just Let a Shop Do It
Some situations are genuinely not worth the gamble:
- Any rear window with a defroster grid. The cost of a broken grid dwarfs the cost of removal.
- Film that shreds when you test a corner. That tells you the adhesive is separating, and the job just multiplied in difficulty.
- Leased or resale-bound vehicles. Scratched glass and stained panels come out of your pocket at turn-in.
- You are replacing the film anyway. This is the big one. If new tint is going on, removal is already part of the install, and most shops do not charge for it twice.
That last point is worth sitting with. If your plan is to strip old film and then have new film installed, doing the removal yourself often saves nothing and creates risk. A shop that finds gouged glass or leftover residue has to charge for prep time regardless.
Choosing Who Does the Work
Removal quality is a good proxy for install quality, because both come down to patience and glass prep. Ask how the shop handles rear defrosters, whether removal is quoted separately or bundled into a replacement, and what happens if a defroster line breaks during the process. A clear answer to that last question tells you a lot. Our guide on how to choose the best window tint shop in Caldwell, ID covers what else to look for, and if you are comparing options straight from search results, this breakdown of what to look for when searching auto window tint near you is a useful filter.
You can also read more about our shop and how we work.
Frequently Asked Questions
Can I remove window tint myself?
On side windows, with a fabric steamer, patience, and no rear defroster involved, yes. On rear glass with a defroster grid, the risk outweighs the savings for most people. Broken grid lines cannot be reliably fixed.
How long does professional tint removal take?
It varies with film age and vehicle. Newer film on a few side windows can be quick. Brittle film that has been baking for a decade, especially on rear glass, can take several hours. Any shop that quotes a firm time without seeing the film is guessing.
Does removing tint damage the glass?
Properly done, no. Glass is not harmed by heat, steam, or the solvents used. Damage comes from blades, over-aggressive scraping, and dry pulling, which is to say from technique rather than from removal itself.
Will old adhesive come off completely?
With the right solvent and enough time, yes. This is the step that decides how the new film looks, so it is not one to rush.
Do I need to remove old tint before installing new tint?
Yes, always. Film cannot be layered. Applying new film over old traps the failing adhesive underneath, blocks proper bonding, and guarantees a bad result.
Let Us Handle the Removal
The math on tint removal usually favors a shop, especially when new film is going on afterward. You skip the razor blades, the ammonia fumes, and the risk to a rear defroster that costs real money to replace.
Auto Shades Idaho removes and replaces window film for drivers across Caldwell, Nampa, Boise, Eagle, and the wider Treasure Valley. Browse our automotive tint options, then reach out to schedule and we will look at your glass before quoting anything.